
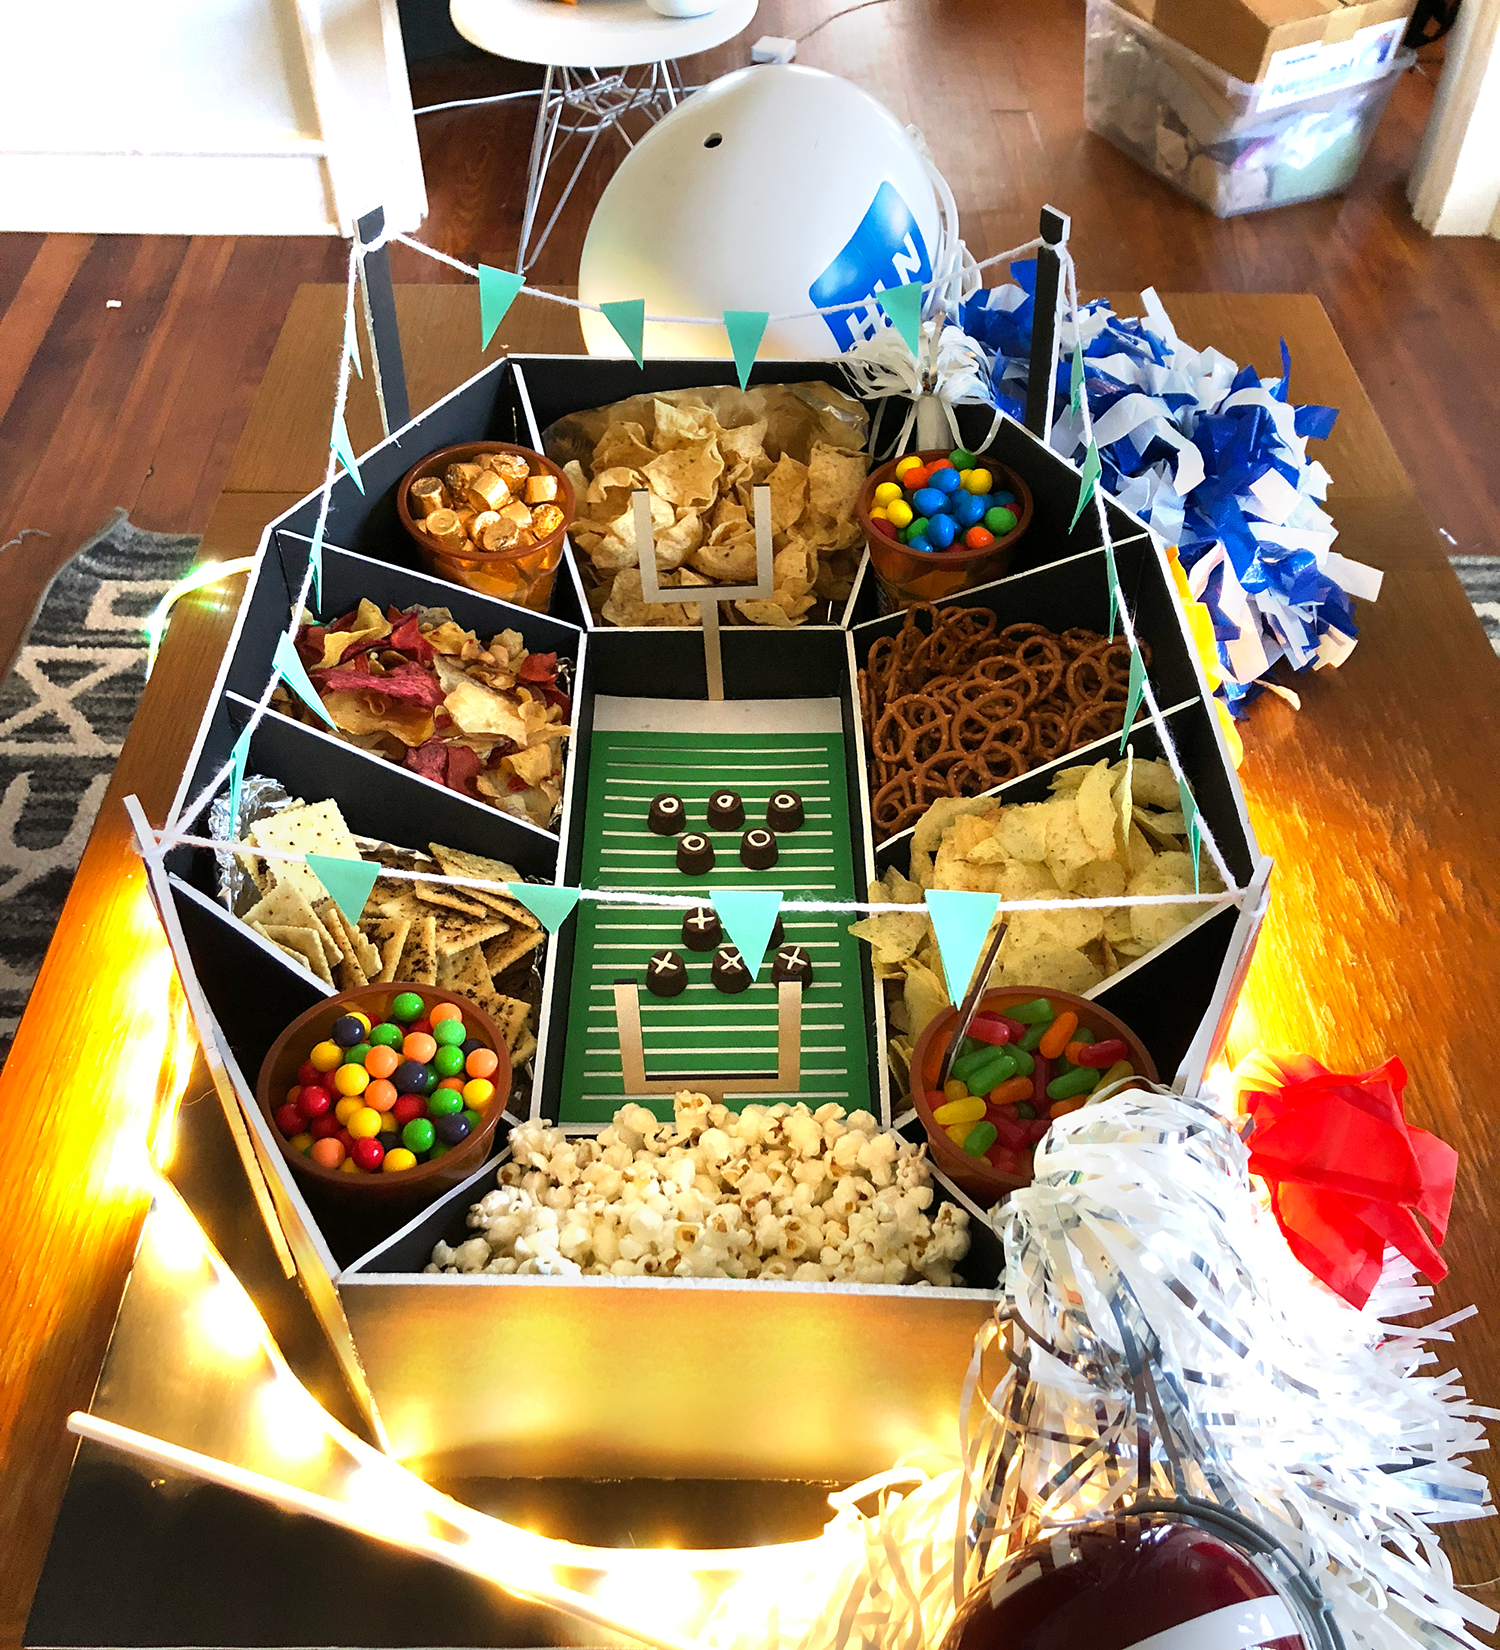
How to Build Your Own Snack Stadium
January 15, 2019
I have this funny stadium-shaped dish I found at a Goodwill a few years ago and only break it out for the rare occasions when I am a. watching football and b. am excited enough to make snacks. When I brought it over to Rachel’s for the game last week, she told me about snack stadiums. With the Super Bowl coming up, I knew I wanted to make my own.
Here’s the diagram of how I laid out the walls on the foam core. Each box is a 1×1″ square. I built the project on a 20×30″ piece of foam core I bought from the dollar store (with two extra pieces for the walls).


Gently draw the grid out in pencil on your base piece of foam core first. This will help you figure out where all of the pieces need to go, and you can erase the pencil later.

Build the outer walls next – you can adjust the connecting walls if your details are a little off.
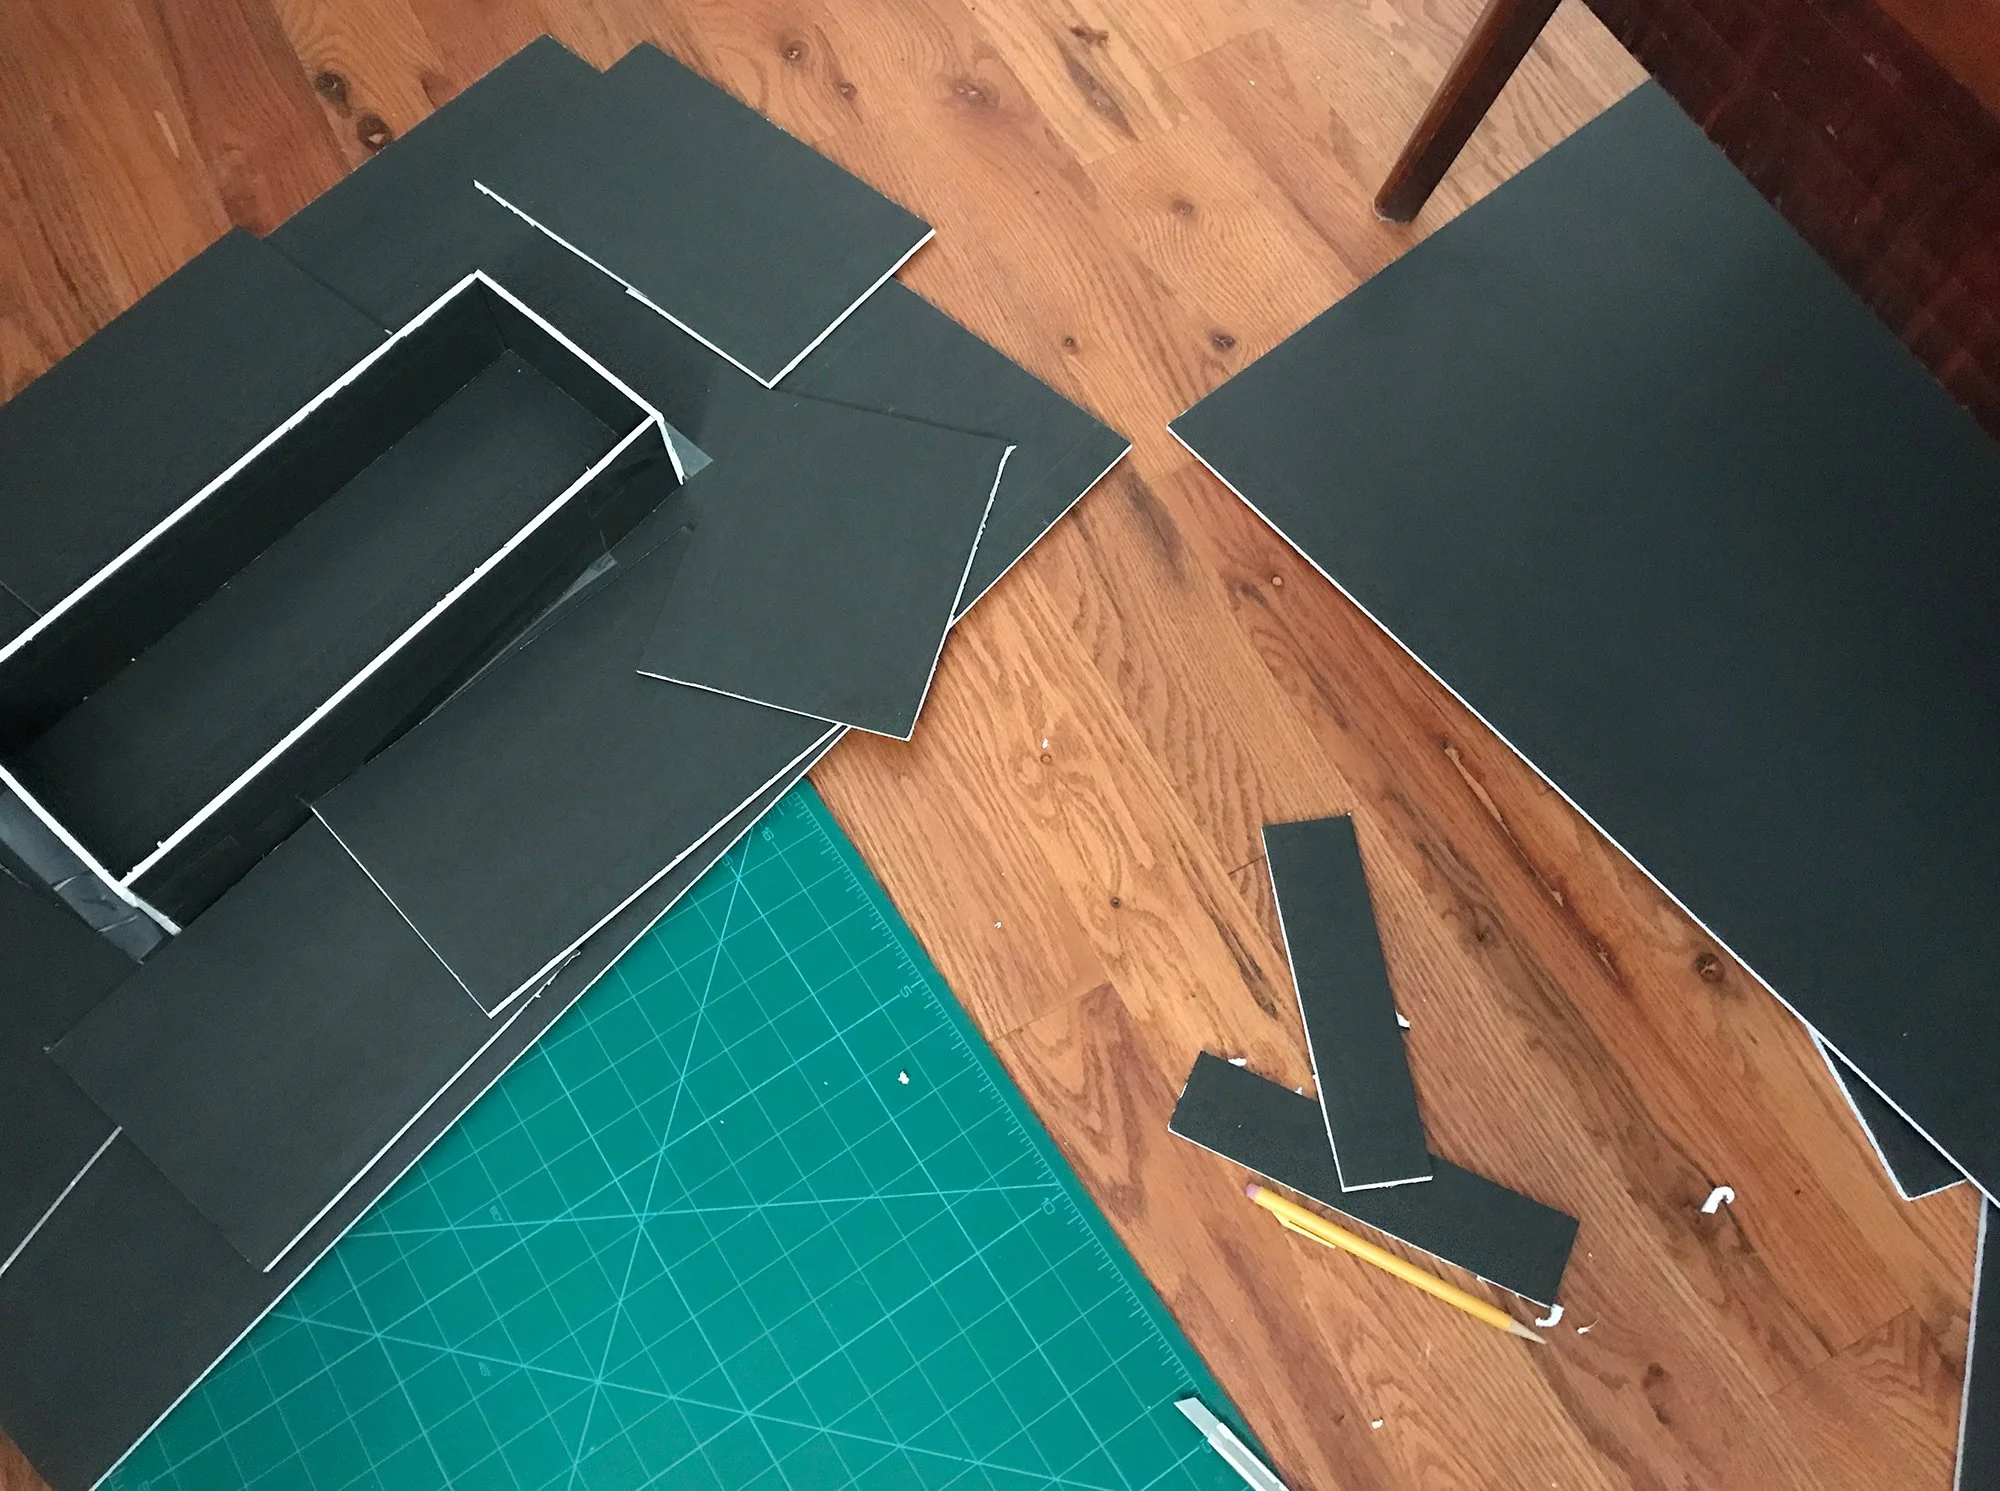
Build the inner box (for the field) first.

Once you’ve built all of the outer walls, double check your measurements.

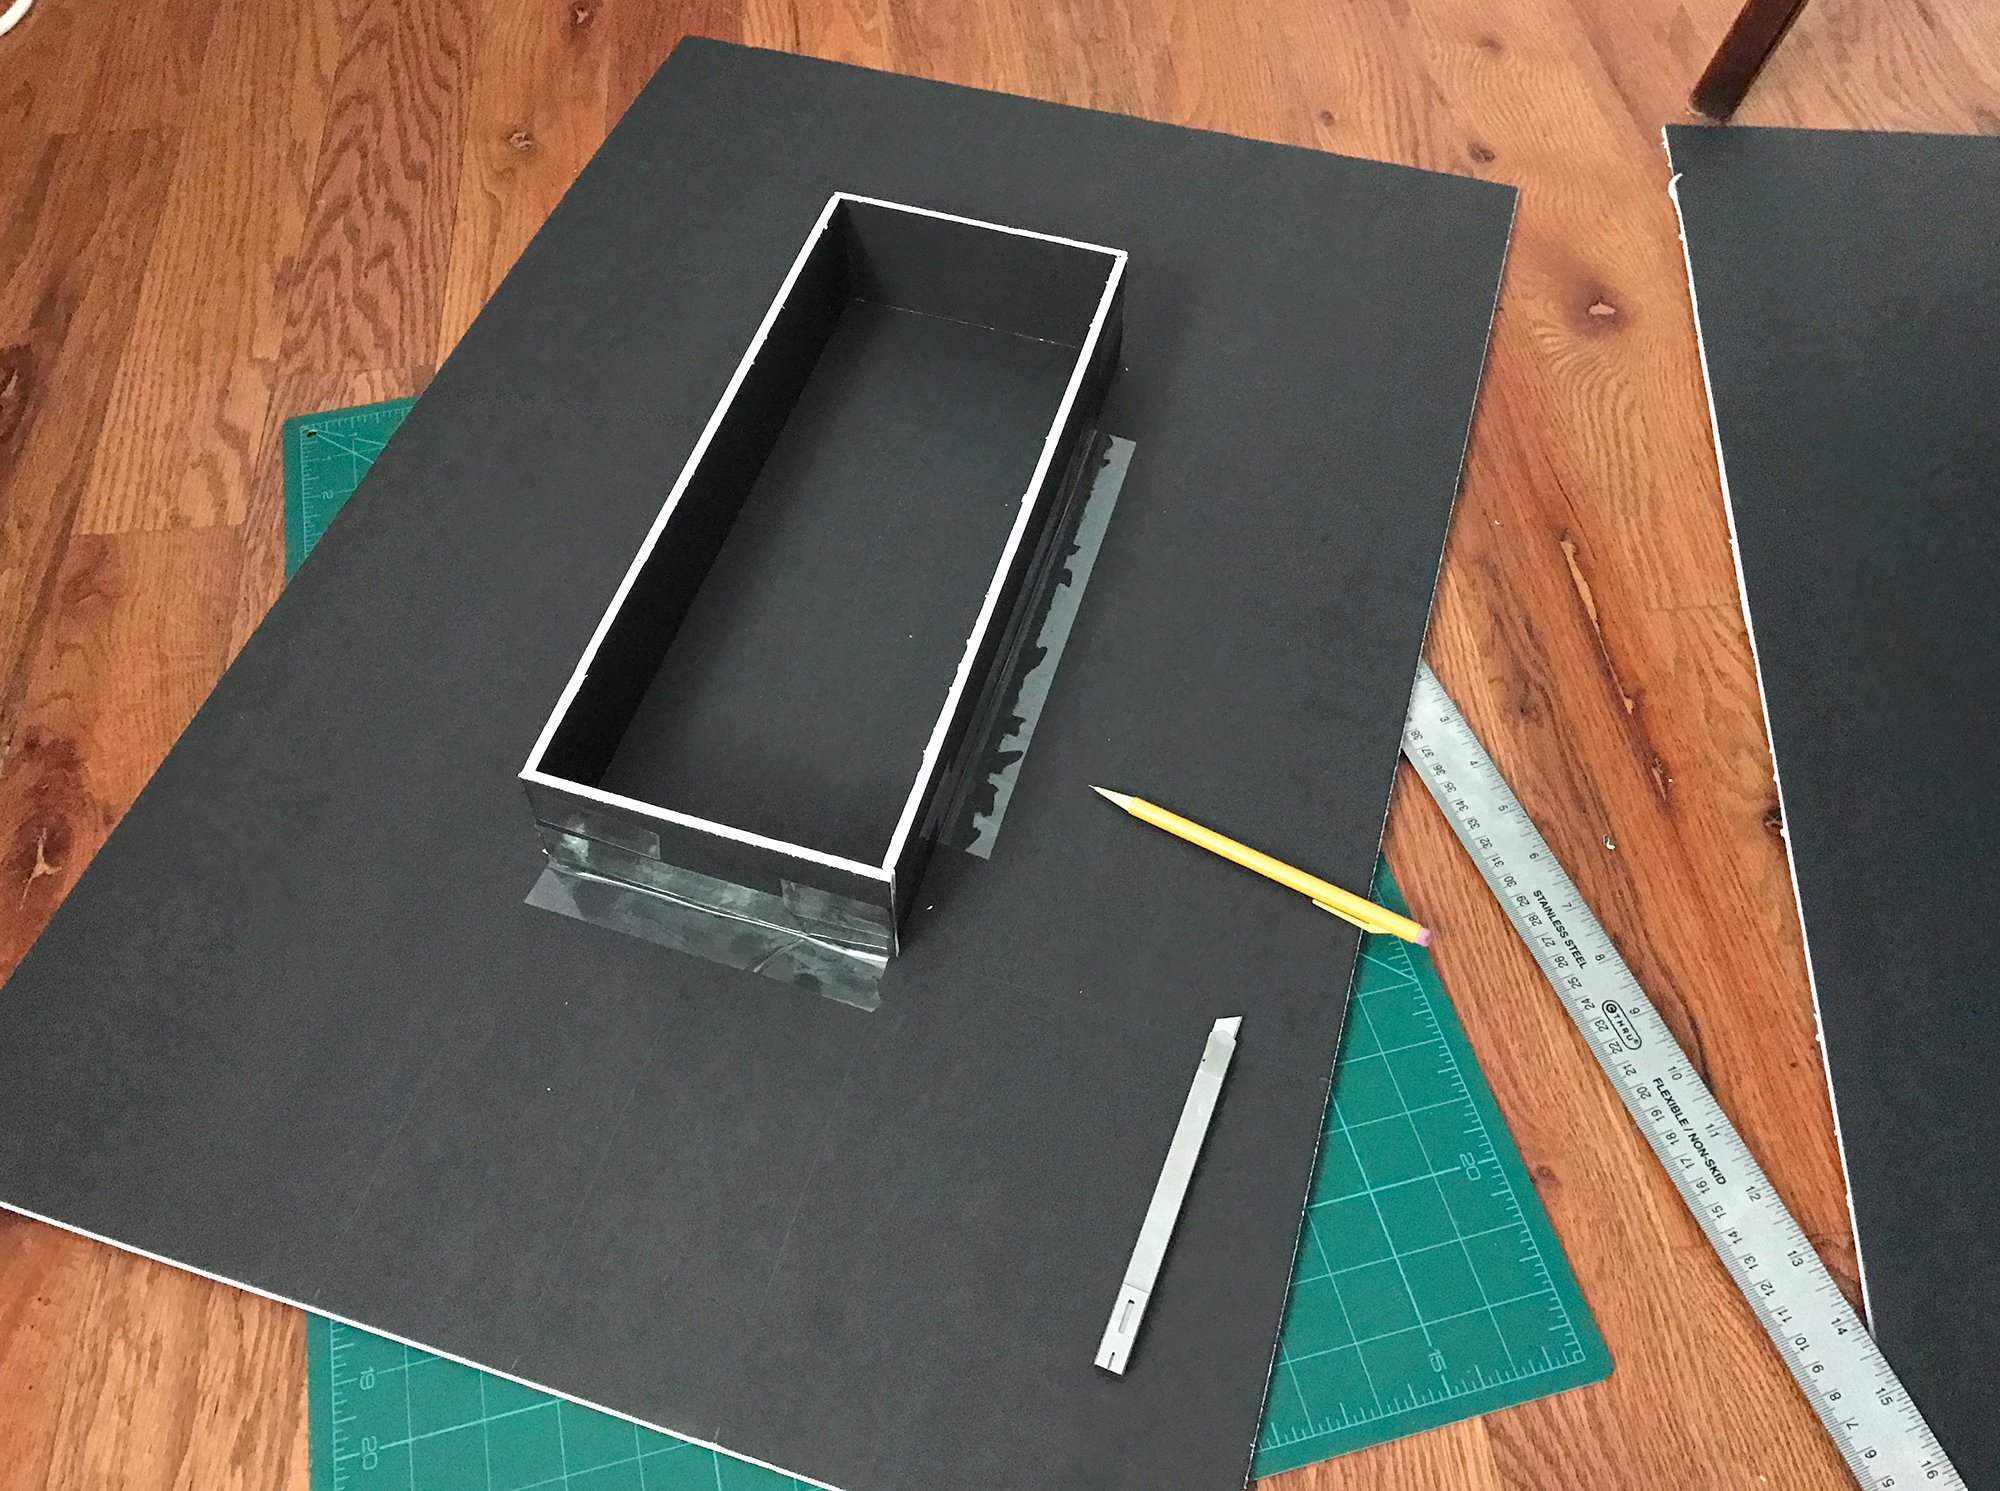
Make sure everything’s still lining up with the grid.


The inner walls should slot in snugly here, but if they don’t, trim to fit or cut some new pieces. I hope you bought extra foam core!

See the snack stadium in action:


Buttered Firecrackers
Ingredients:
3 Tbsp Butter
3/4 Tsp Garlic Powder
1/2 Tsp Cayenne Powder (use more if you like it spicier)
One sleeve of saltines (about 40 crackers)
Directions:
Lay out all of the saltines flat on a baking sheet, without overlapping (they can touch)
Preheat the oven to 350 degrees
Melt the butter in a pan or in the microwave, don’t overdo it
While the butter is melting, mix together the garlic and cayenne in a small glass bowl
Pour the hot butter over the seasoning mixture and mix well with a fork or a small whisk
Dip a pastry brush in the butter mixture and paint it over each saltine – you should have enough mixture to cover all of them liberally, but start with small strokes and go back over a second time if you need to.
Bake for ten minutes, let them cool, and then dump them into a bowl.
Enjoy!