How to make Terrazzo Chocolate Bars
Are you a chocolate lover with a passion for artistry? If so, we have the perfect culinary adventure for you! Imagine indulging in decadent chocolate bars that not only satisfy your sweet cravings but also double as edible works of art. Welcome to the world of Terrazzo-patterned chocolate bars, where creativity and deliciousness collide.
Terrazzo, a stunning flooring and interior design technique that originated in Italy, has made its way to your kitchen in the form of mesmerizing chocolate bars. These treats are not just a feast for your taste buds but also a feast for the eyes. Whether you're a seasoned chocolatier or a beginner in the world of chocolate making, this step-by-step guide will teach you how to craft these exquisite edible masterpieces.
In this blog, we will walk you through the art of creating Terrazzo-patterned chocolate bars, from selecting the finest chocolate to mixing vibrant colors, and finally, the intricate pouring technique that results in these stunning marbled patterns. So, grab your apron, gather your ingredients, and let's embark on a delightful journey of making visually captivating and delectable chocolate bars that will impress your friends and family alike. It's time to turn your kitchen into a chocolate art studio!
What you’ll need
Chocolate melts. I bought these ultra white ones from Stover & Co because they don’t require tempering, which can be a huge pain when you’re trying to get silly with chocolate. I also got these milk chocolate melts so I could make some other fun bars later.
Oil-based food coloring. You can’t use normal food coloring in chocolate, because any water will make the chocolate “seize” and become unusable. Trust me on this. I got these food coloring oils.
Chocolate bar molds. I originally ordered some that showed up SUPER tiny and hilarious, and I felt like I’d messed up. For this post, I ordered large molds for BIG chocolate, but also realized after they might actually be too big. Molds though, are up to you!
A double boiler. You could microwave chocolate, but my microwave is cheap and crappy, and I think I get a better melt using the stove. I like this one because it also comes in handy when making macarons.

First: Melt the chocolate
Some people will buy pre-colored chocolate melts, but I wanted to keep it simple for this and just decided to make my own individual colors. Melt a pot of white wafers until the consistency is smooth and liquidy, and then divide the pour between a few bowls. I added color first because I got impatient and only had 3 bowls, but you could do as many as you want at one time (as long as the chocolate stays warm)!

Mix your colors
Don’t whip these colors because you can add too much air. Take it slow and press.

Spread on Wax Paper
While the chocolate is still workable, spread it out on some wax paper in a loosely thin way. Don’t sweat consistency here since you’ll be breaking the pieces up shortly, but go for like…. 15 pieces of paper thick. The thinner the chocolate, the faster it will melt later, but pieces that are too thick can trap air.

Freeze & Pause
Pop your tray in the freezer. It takes about ten minutes for the chocolate to quick-set, so this is a great time to clean up this huge mess!
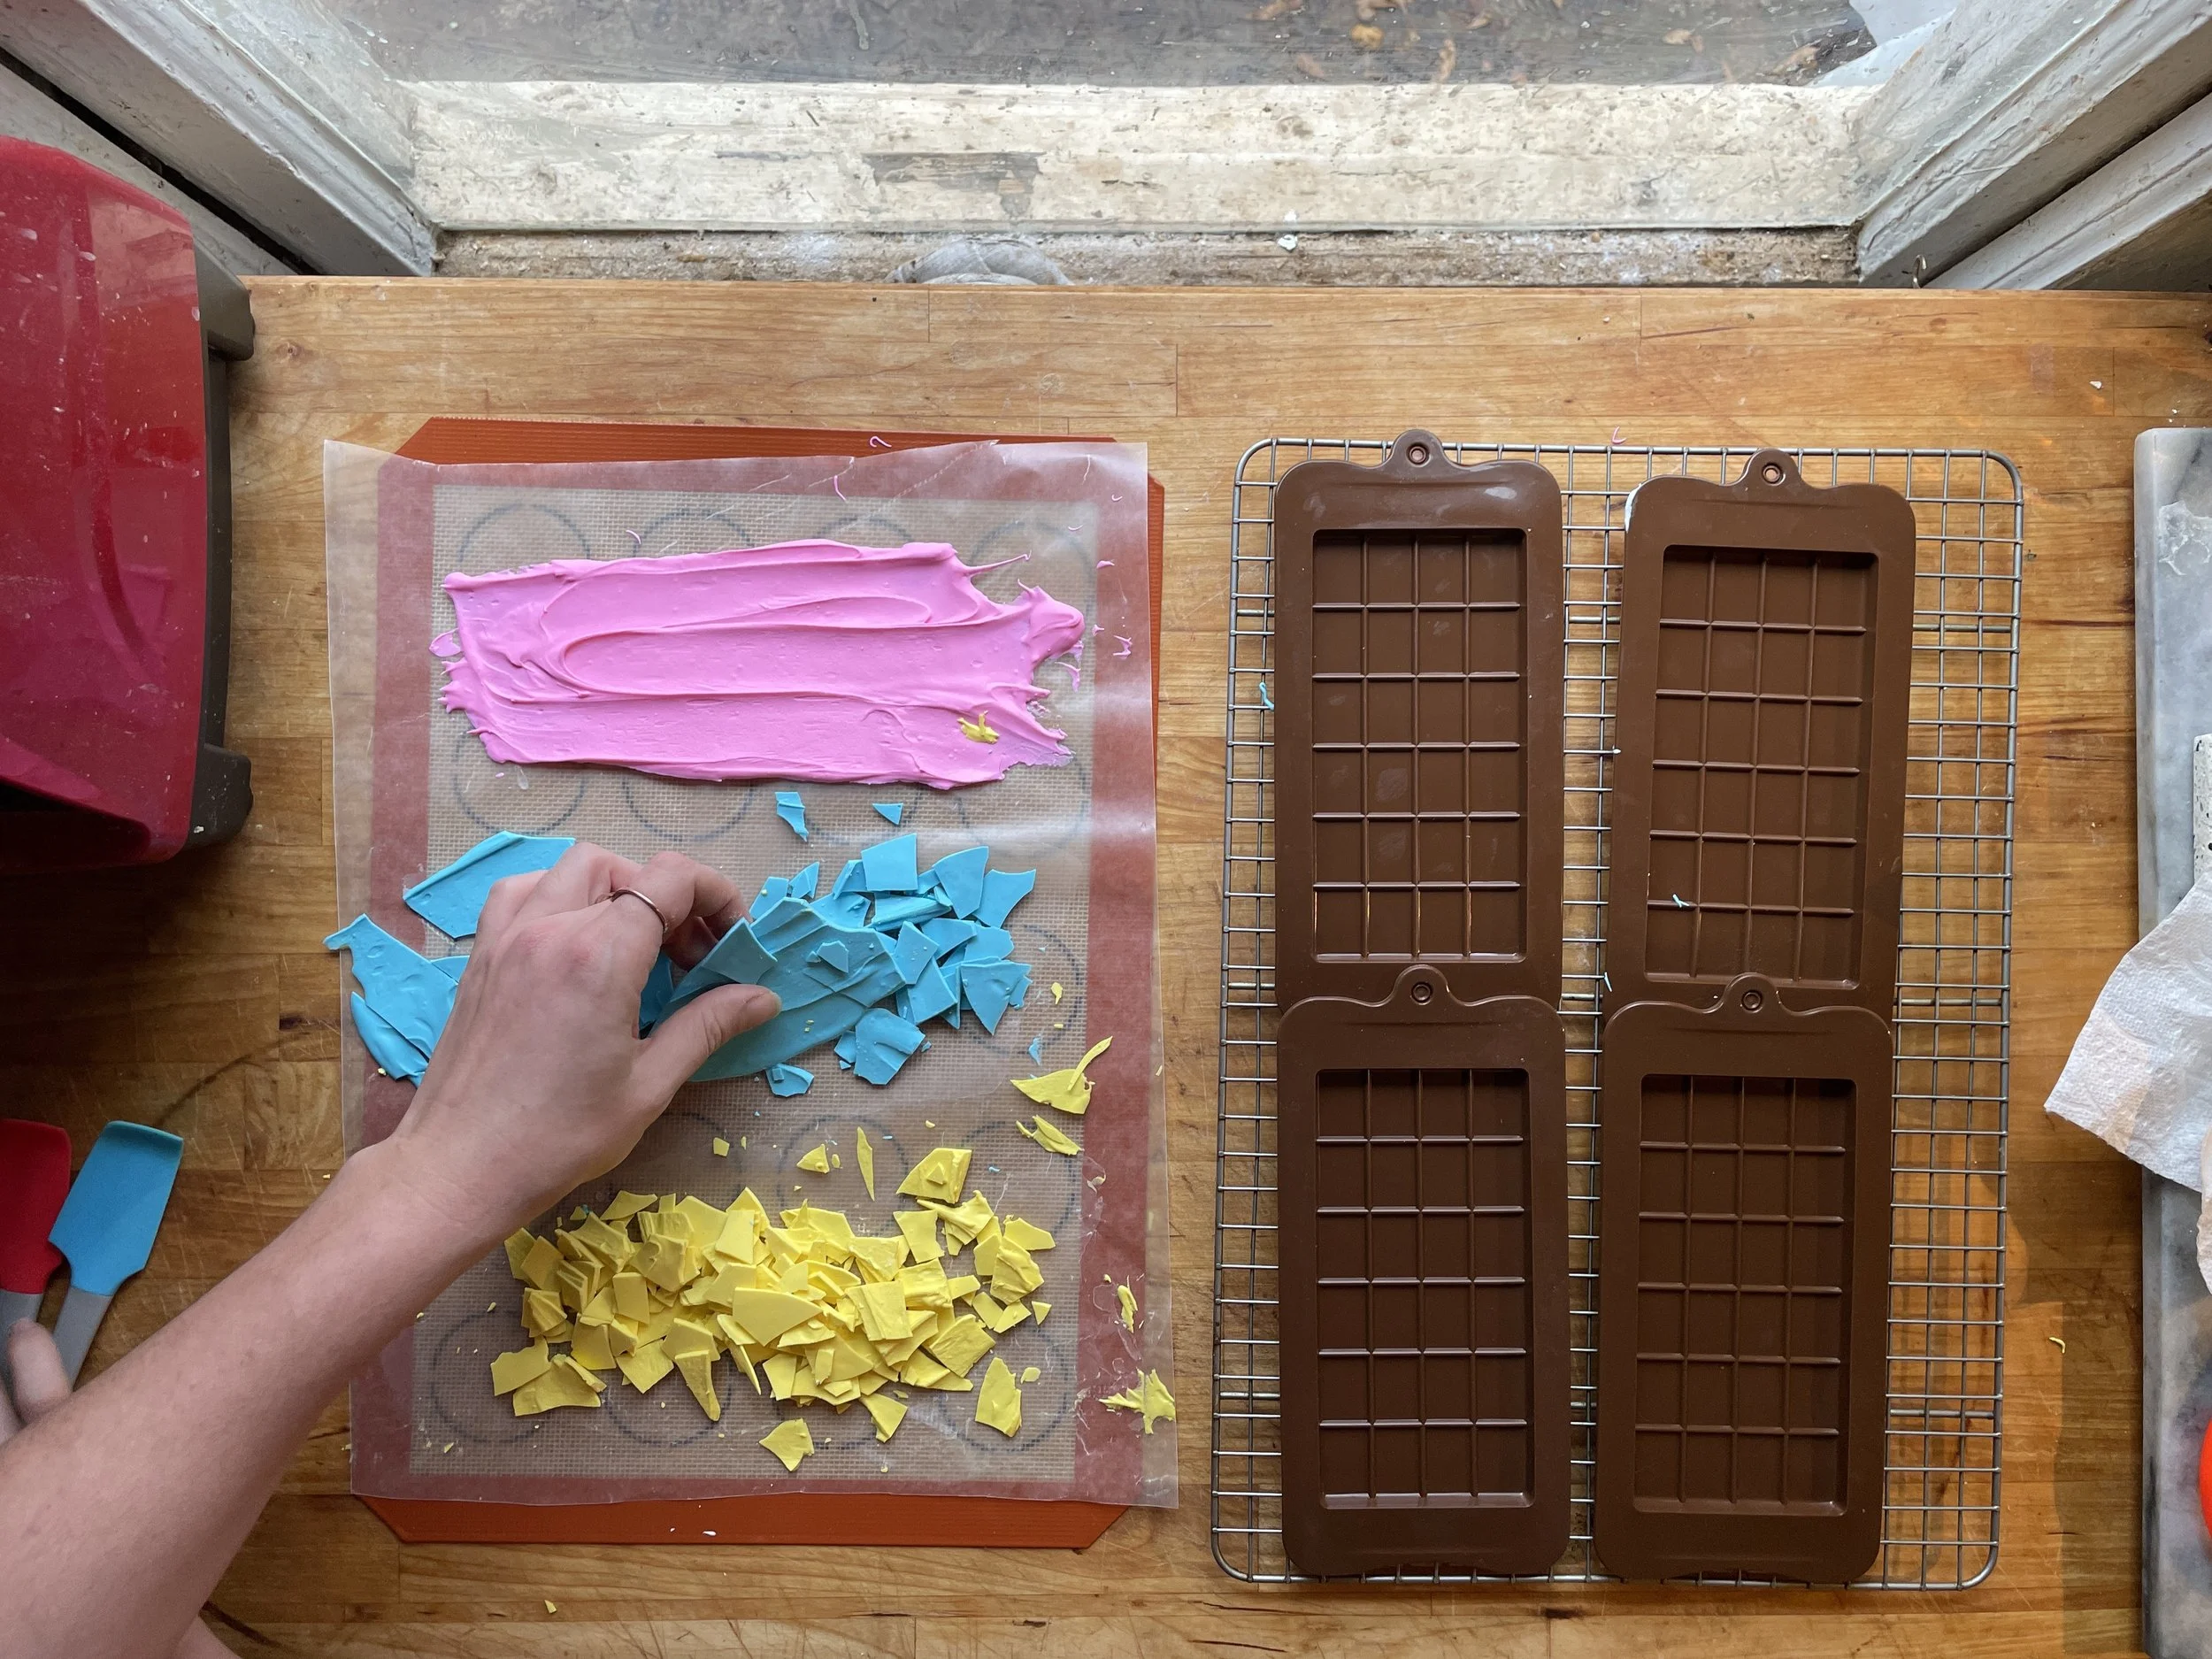
Break up the chocolate
Grab your tray from the freezer and gently break it into chunks with your hands. Again, smaller pieces melt more quickly, but larger pieces can trap air.
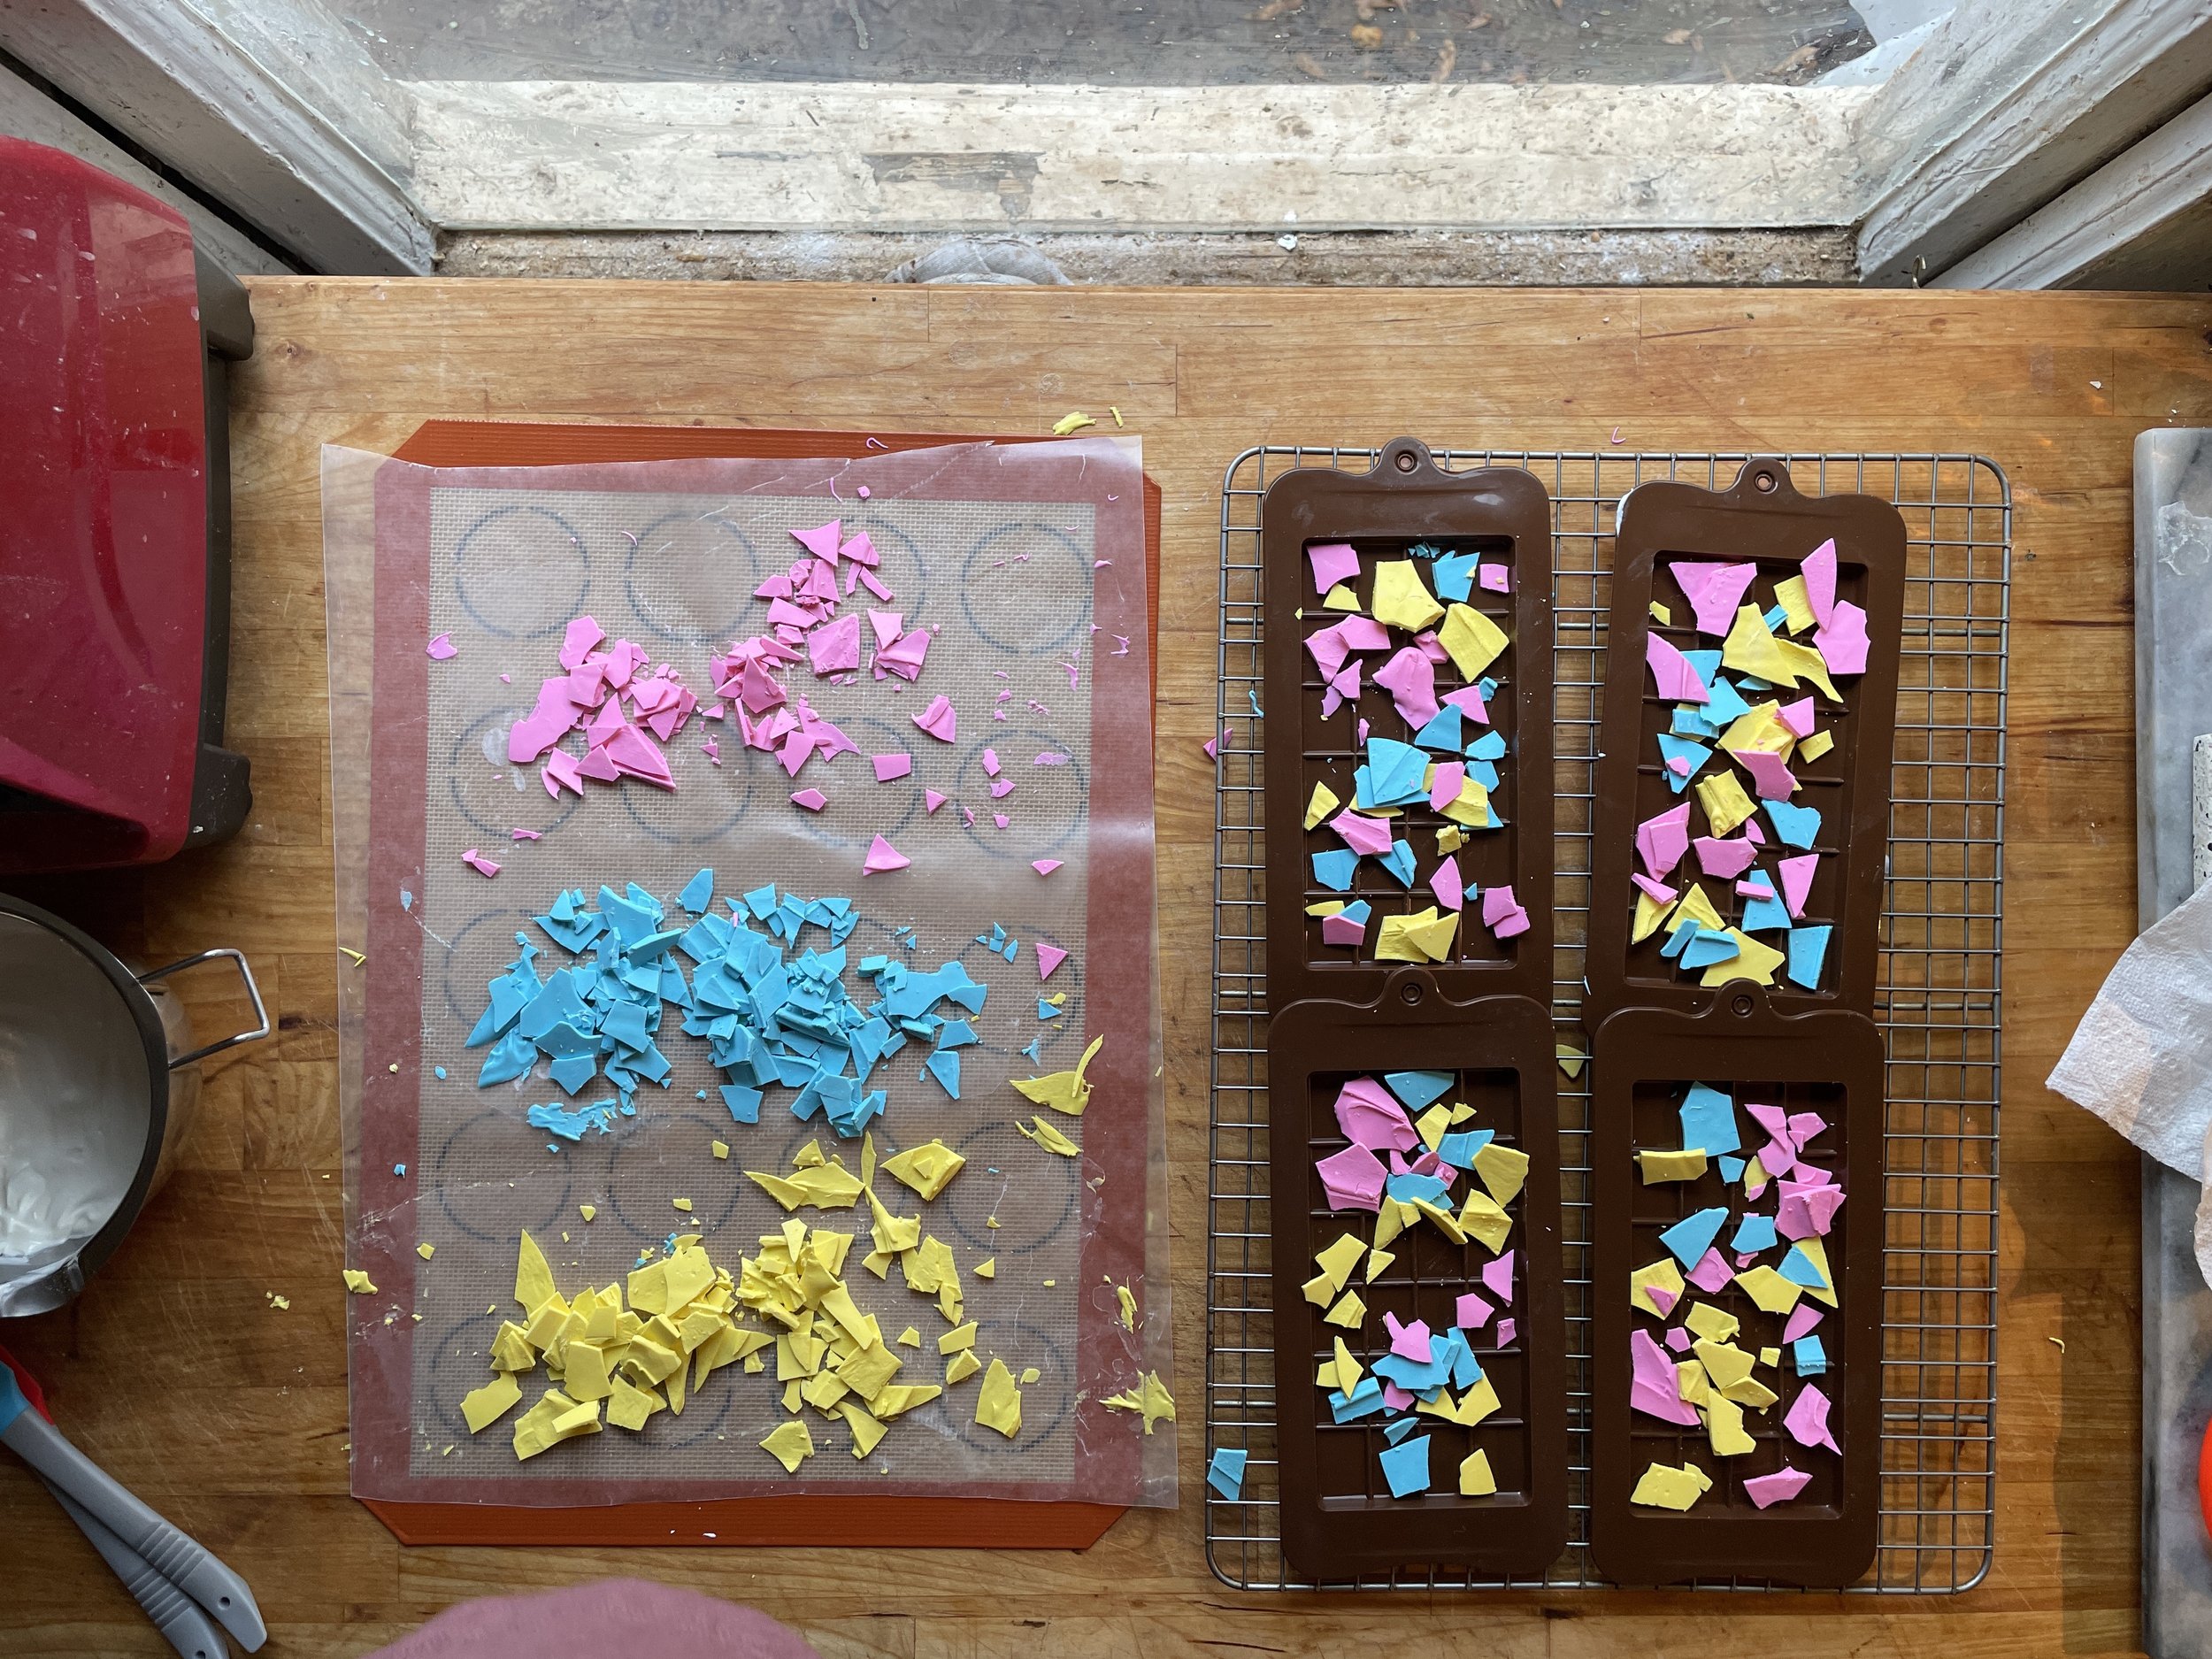
Divvy the pieces into molds
Scatter the pieces into molds in a fun, organic way. Don’t overthink the pattern here – it will most likely get jumbled when you add the white chocolate!

Pour white chocolate
Remember when you cleaned your materials before? Great!!! Melt a new batch of white chocolate in the double boiler, and then pour gently into the molds. There’s an art to this – I think the chocolate pours better when it’s warmer and more fluid, but you can run the risk of melting the color pieces too much. When the mold is full, tap the tray gently on the table to release air bubbles. There will still be some and that’s ok.

Set and de-mold!
Pop the tray back in the freezer for about 15 minutes or so, until the bar feels fully firm in the mold (a few pokes are ok). Gently peel the mold away from the bar, and marvel at your creation!